Showing posts with label Essie. Show all posts

Matte & Metallic Nail Art

Happy Sunday All!  I hope you are all having a pleasant weekend so far.  We are enjoying another snowy day here in New York (said in my most sarcastic tone ever while rolling my eyes).  Even though I hate the snow, it does give me an excuse to stay indoors and get some nail art done.

Since I purchase the Essie Cashmere Matte collection I have had many ideas of different nail art designs I would love to create using them.  I decided to do something super simple, we'll call this a super simple Sunday nail art design, using matte and metallic polish.  I created this very easy dotticure with a stripped finger accent...


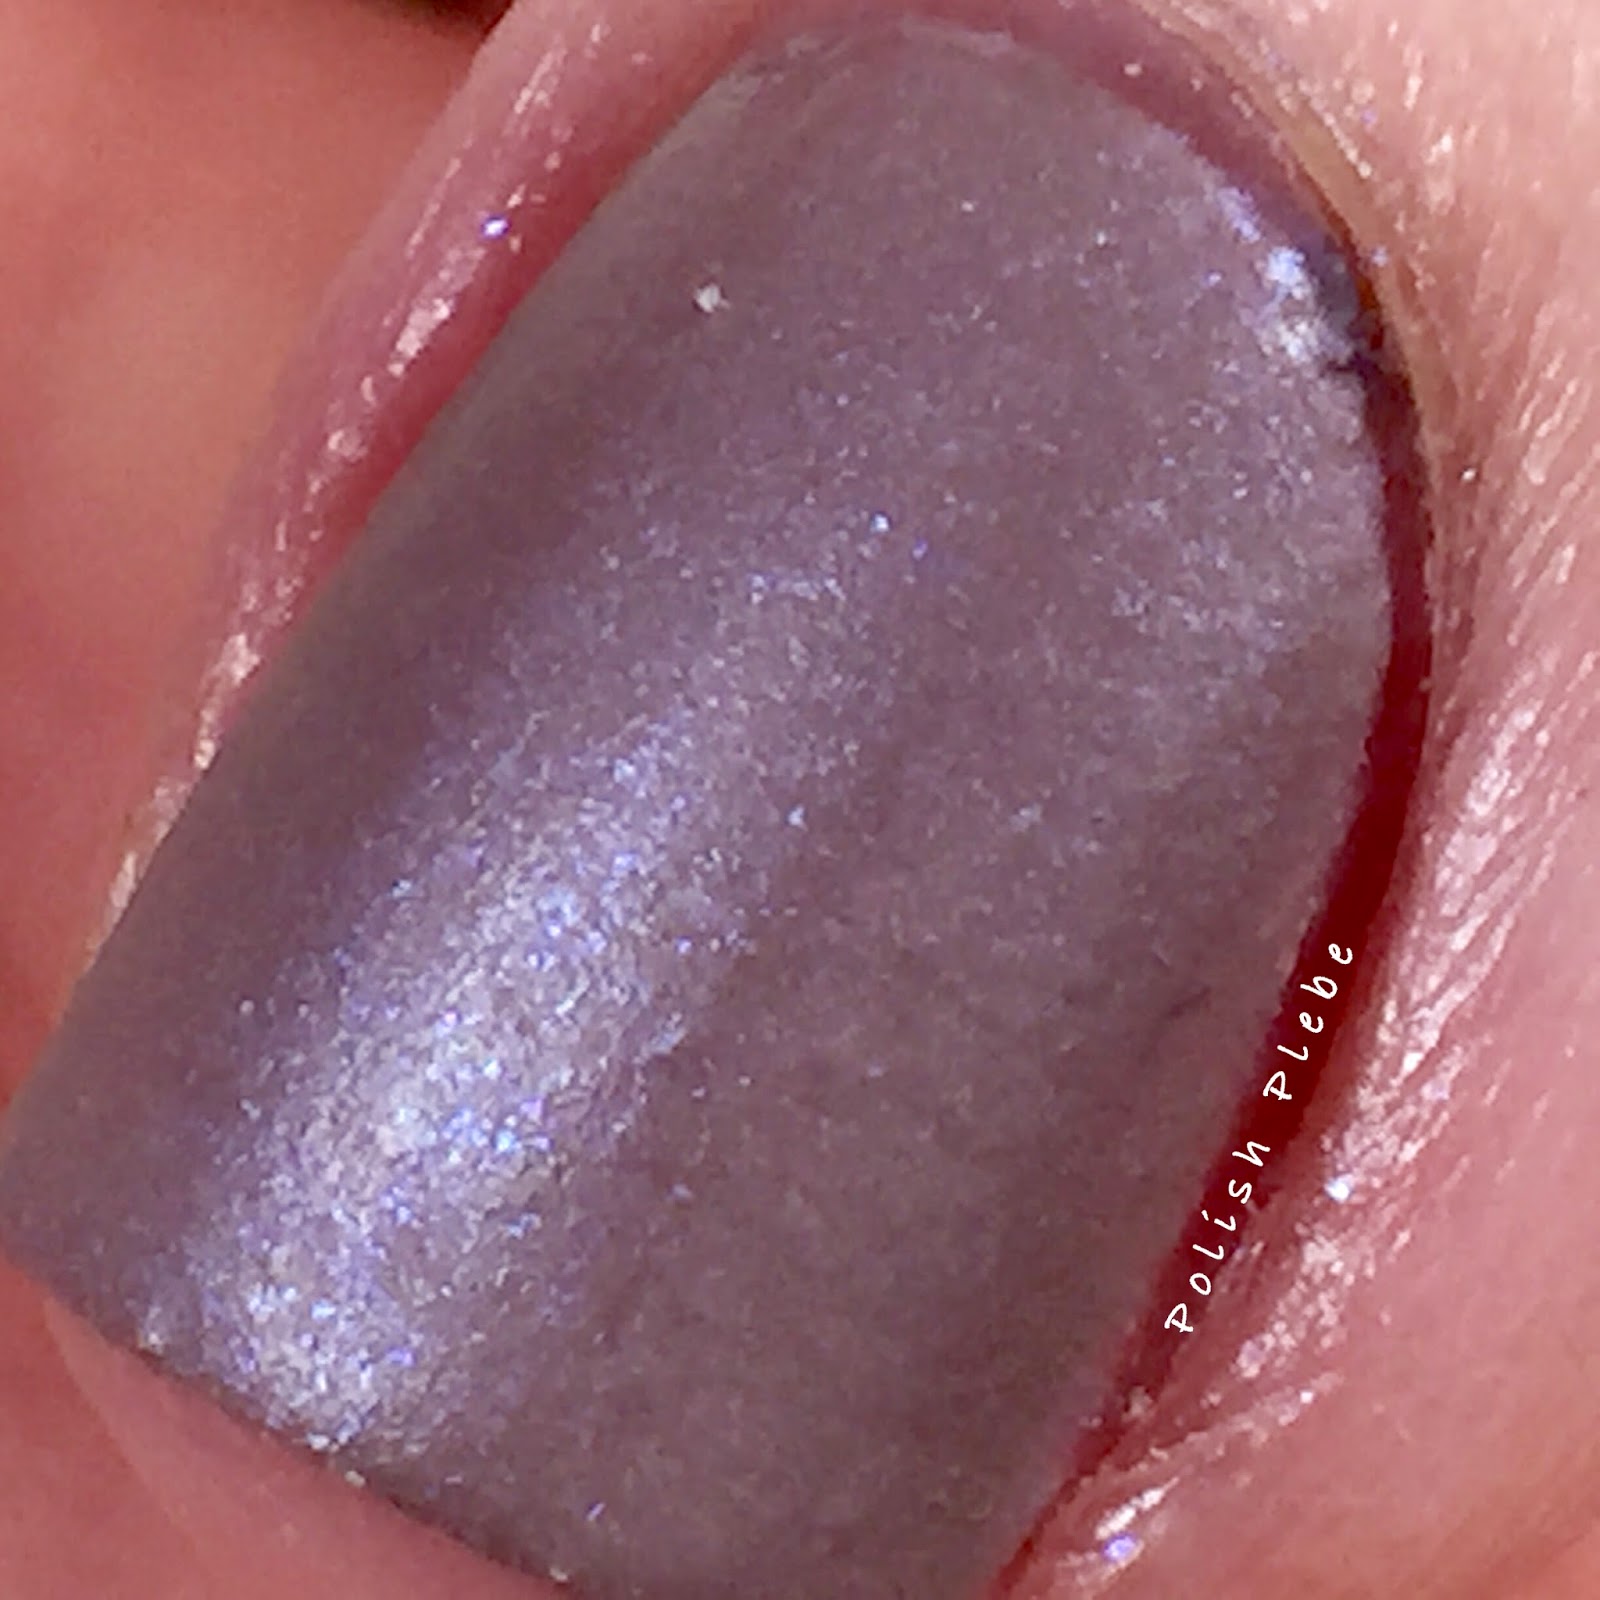
I started this out with Essie's 'All Eyes on Nudes' on all my fingers, except for my ring finger which is Color Club 'Antiquated.'  I also applied a quick drying top coat over 'Antiquated.'  Of course, you don't put a top coat over the matte polish because it will no longer be matte if you do.


On my accent (ring) fingers I applied straight nail vinyls from nailvinyls.com once my polish was dry.  Of course, you can use stripping tape, or scotch tape to create your stripes.  If you're really talented you can free hand your stripes.  I'll like vinyls because they are quick, easy, and create nice clean lines.  With my vinyls in place, I applied Essie's 'All Eyes on Nudes' and then removed my tapes.


For all my other fingers, I used the smallest dotting tool that I own and created this super cute tiny polka dot dotticure.  The size of the dotting tool I used is equivalent to the size of a toothpick.  Make sure that when you use any kind of dotting tool (toothpick too) that you occasionally wipe the tip.  If you don't the polish builds up on the end and you end up with different size dots.  When I was all done dotting I did a little clean up with acetone and a brush, and that's it.  Remember no top coat, unless of course, you don't want the matte affect.


What I like about this nail art design is that the similar color tones make the design subtle, yet the different finishes (matte and metallic) make it eye-catching.  I really like this design and I hope you do too!  Thanks for stopping by, see you next time.


Your Fellow Plebe,


P.S. What do you think of the new background?  I purchased a few different ones from my local craft store.  I'll be trying them out on different posts and I need an honest opinion.  If you don't like them I don't want to keep using them and if you love them I definitely do.  Thanks in advance for your input ; )
 

Essie's Cashmere Matte Collection Swatches and Review

Today, is an incredibly cold day here in New York.  We are experiencing record low temperatures and incredibly strong winds.  So, what better to share with you than Essie's Cashmere Matte Collection.


All the swatches you are about to see are applied in 2-3 coats.  Of course, they do not have a top coat, applying a top coat on a matte finish polish kind of defeats the purpose of it being matte. 

Wrap Me Up


This is a perfect off white.  Even though it is a white shade it is still very warm and inviting.  I love this color with the matte finish.


All Eyes on Nudes


This tan nude shade is a great polish for those of you who are not allowed to wear bright or overpowering polishes at work.  I personally don't find this shade very exciting, but I feel it rounds out the collection nicely.


Just Stitched


This soft pink shade is just to sweet.  The iridescent shimmer gives it so much color.  Some how this color is both subtle, yet still manages to be an eye catcher.  The matte with iridescent shimmer are beautifully unique.


Comfy in Cashmere


This is a very interesting purple grey shade.  For me this is a unique color, I don't think I own anything like it.  This too, has an iridescent shimmer that makes it incredibly beautiful.


Coat Couture


This falls in the same family as Comfy in Cashmere but is more purple and a little cooler in tone.  I tend to avoid purple shades, I don't feel they compliment my skin tone well.  However, I wore this shade all weekend and I really liked it.  The rich tone, matte, and iridescent combo makes this a shade worth wearing.


Spun in Lux


The name of this shade is fitting because this color is so luxurious.  Though in some light this appears to be nearly black, it is a very dark navy blue.  It was mostly opaque with one coat, but I did two for good measure.  This is my favorite color of the collection, I can't help but to drool over this dark color and iridescent shimmer.


For those of you who do not have any experiences with matte polish, it does dry relatively quickly.  This is mostly a benefit but for those of you that paint slowly you may experiences streaks because of how quickly it dries.  Also, if you have heavily ridged nails you may want to use a ridge filler base.  I did not use a ridge filler, and though you can't see it in the pictures I could notice some ridges through the polish.

Matte polishes are all the craze right now but this collection kicked it up a notch with excellent colors most of which have a beautiful shimmer.  If you like soft colors or neutral shades this is a great collection.  If you work in an environment with a dress code that does not allow bright polishes or overpowering nail art this is a perfect collection for a professional person.

I hope you enjoyed these swatches (Yay! I finally got a macro lens, what did you think of the macro pics?) and found the review useful.  Thanks for stopping by, I hope you are staying warm, see you next time.

Your Fellow Plebe,


What a Bloody Mess! Nail Art Design

This gore-some nail art design was inspired by two of my favorite Instagramers. This was a very messy nail art project but it was fun.


Materials
Nude or white polish
Red polish
Small detail brush
Straw
Lots of cleanup supplies

I started out with three coats of Essie 'Spin the Bottle'. This color is a very fleshy nude color that goes well with my skin tone. I also applied a coat of Essie's fast drying top coat over this.


For my thumbs and pinkies I painted bloody drips using Essie 'Dress to Kilt'. I did this in the same manner as my Ice Cream Nail design and my Chocolate Covered Strawberry Nail design. The only difference is that I painted the drips along my cuticle instead of my tips.


For my pointer and mid-finger I did a good ol' simple straw splatter. I didn't do pictures of this process because it is very messy and I didn't want to mess up my light box. These are inspired by @mrswhite8907 Dexter inspired nails.


For my ring finger I accented with a bloody finger print. This was inspired by @banicured Crime Scene nail art design. I also used the same process. Using a finger on my working hand for me my thumb was the easiest. I painted my finger tip with red polish, blotted it on a paper towel, and then pressed it on my nail in a rolling motion to create the finger print image. You want to be sure that your base polish is mostly dry for this technique. Mine was not the first time around and the base color polish ended up sticking to my printing finger and peeled off, so I had to do it a second time.


After an hour of clean up, okay maybe it didn't take an hour but it sure felt like it, I applied my top coat. This project was really messy and my fingers are stained a bit.  Red polish always stains my skin, so I'll probably have pink fingers for a couple of weeks, but I still really enjoyed this nail art design.  I hope you enjoy them too.


These gore-geous nails were so messy but they are perfect for Halloween addicts and gore lovers alike. I hope these bloody nubbies grossed you out, just a little. Thanks for stopping by, see you next time.

Your Fellow Plebe,


Nails Art Proudly Powered by Blogger