Sold on Striping Tape

I'm sold on striping tape a.k.a. foil tape.  I have found them to be useful in so many ways.  You can make a boring manicure more elegant, you can use them to make unique patterns, or use them to cover a flawed freehand design.  To say the least I am in love with foil tape. Foil tapes are inexpensive, easy to use, and make you look like you've had your nails done by a professional.

Make a boring mani beautiful

Use striping foils to make a neat design
Practice your freehand and cover up flaws with foil tape
I've been only using these for about a week and have used them in four different manicures. Each in the way I described above, though I am no expert (I am after all a Polish Plebe) I have a few pointers about using them:
Cut tape slightly longer than your
nail.  Trim the tape a little shorter than
your nail once it is in the desired location.
  •  Just like using any tape on a manicure make sure that your base coat/color is completely dry.  Laying striping tape is not always easy and you may have to remove or move it before you get it to the place that you like.  For each manicure that I applied the tapes I applied a quick drying top coat and drying drops to speed up the drying process.
  • Make sure that your nails are completely clean to help the tape to stick. With one of my taped manicures I forgot to wash the residue from the drying drops so the tapes did not want to stick.
  • I have read on many sites that it easier  to use your fingers or tweezer to place your tapes.  Honestly, no one way is the best.  I tried both and found neither to be easier than the other.  Placing tapes are pretty easy to begin with.  Obviously, just use whichever technique works for you.
  • I found it best to cut the tapes a little longer than my finger and then cut it shorter once it was in place.  This made it easier to move the tape around. I tried using nail clippers to cut the tape but I found that I had better control with manicure scissors.  If you have a pair of curved manicure scissors they work really well to trip around the cuticle area.
  • If your design has you running the tape all the way to the edge of your nail cut it slightly shorter than the nail itself.  I found when I took it right to the edge of my nail I could feel the tape and I didn't like it.
  • After you place the tape make sure the edges are pressed down firmly.  I preferred to use my finger nail to press the edges of the tapes down along the cuticle but you may prefer to use a cuticle pusher.
    Push down your edges, you can use your finger
    or you can also use a cuticle pusher.
  • When you are happy with your design make sure that you put on a top coat.  With my designs I placed two layers of top coat because I didn't like to feel the ridge of the tape.  This helps keep the tape in place, however, if the tape doesn't stick well to begin with don't rely on the top coat to hold it down.  I made this mistake with one of my manicures and had to take it off after less than a day.

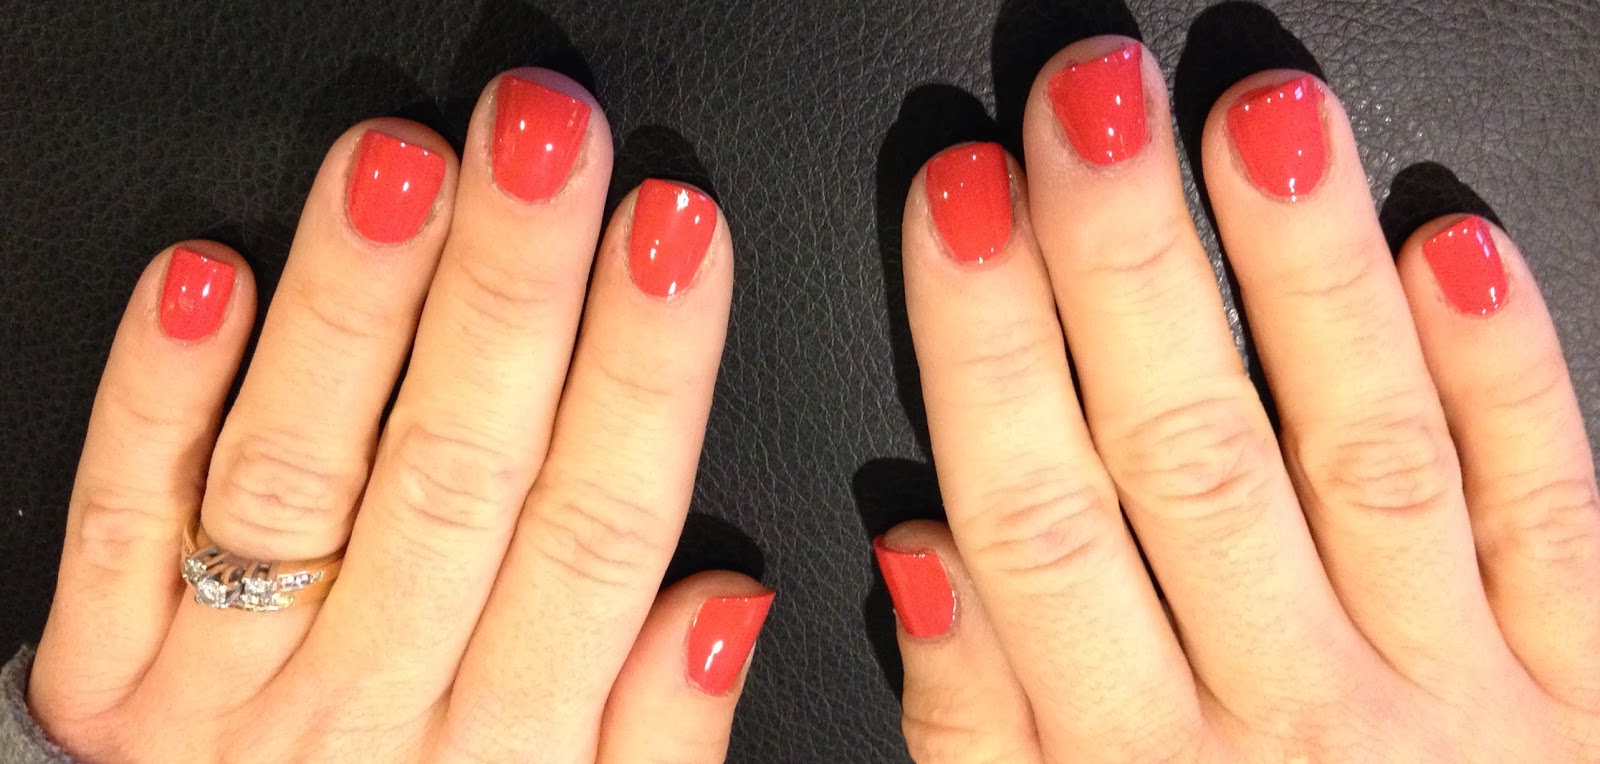
For this demonstration manicure, I wanted to practice my freehand french tip technique.  This is something I need a lot of practice with.  However, time is valuable and I hate to do something and not recieve a desireable result.  This is one reason why I love foil tape so much.  So I started my manicure as always, by applying a base coat and then I practiced my freehand technique using a pretty aquaish blue.  I freehand a french tip on all but my ring finger.  At the last minute I decided to use this as my accent finger, so I painted it completely.


Though I did alright, I'm a bit of a perfectionist and would not be able to live with this manicure for very long.  Not only that but foil tapes just make everything prettier.  So I added some tapes to cover the edges.
Just like that you have a perfect french tip.
To add a little funk to this french tip manicure I placed five stripes horizontally across my accent nail.  There you have it a magnificent mani.  This is one that I am very happy with and won't want to take off.


No matter how you use your foil tape you can't go wrong.  Hopefully, these tips will help you out and keep you from getting frustrated and allows you to love your latest mani.  I hope you are as sold on striping foil as I am.  See you next time. 

Your Fellow Polish Plebe,

Ladybug and Sunflowers

Today my daughter turns 1! On Saturday to celebrate this momentous occasion we had a birthday bash in her honor. The theme was ladybugs, this manicure was inspired by my little bug and her birthday party theme.

Ladybugs on parade!
Because I am a Polish Plebe I cannot freehand anything to save my life. Not even a simple french tip. So I did this in what some might consider an unconventional method. If you have a steady hand, I recommend you do this freehand and save yourself some time. Here is how I did it.
For this design I mostly used Nabi
polishes.  The red is a Covergirl polish.

Materials:
Base coat (as always, do not go without)
Black base color
Red, yellow, green, white, and black for design
Scotch tape or stripping tape
Dotting tools

Don't forget your base coat before
your base color.
For this design I applied two coats of black polish over a base coat on all my nails. It is important to use a base coat especially when using dark colored polish. If you fail to use a base coat you will most likely end up with stained or yellowed nails. I also applied a quick drying top coat and let the polish dry overnight.

Cutting the tape is a pain!
Use stripping tape if you have it.
The next day, I used scotch tape to create the ladybug design. I did not have stripping tape (I have order some but I have not received them yet), so I cut small strips from the scotch tape. If you have stripping tape use that, again to save yourself time. I taped off the tip of my finger and then placed a small tape stripe down the center of my nail creating a t‐shape.
The black will be the ladybug
head and separation between
the wings.

I then applied my red polish for the ladybug wings. However, I discovered that my red polish was too thin and did not give me the bright red I desired for this design when applied directly onto the black polish. I ended up adding another step: after applying the tape, I used a white polish, then applied the red. This allowed the red to show more vibrantly.
Left bug has white under red,
right bug does not.

I then removed the tape. When removing the tape make sure you remove the piece that is on the top layer first and then the bottom one. This will give you the best result. After removing the tape I used random sized dotting tools and black polish to make my ladybug spots. Lastly, I used one of the larger sized dotting tools and white polish and added eyes toward the tip of the nail. Using the next size smaller dotting tool I added black pupils to the ladybugs eyes. That’s how I ended up with these cute little ladybugs.
The progression of the ladybug.
To breakup the ladybugs I dotted sunflowers on my thumbs and ring fingers. Using yellow polish and a large dotting tool I dotted 5 large overlapping dots in a circle. I repeated this with a slightly smaller dotting tool for the second flower. Using green polish and a small dotting tool to add some little green leaves. To clean up the center of the flower, I went back in with a small dotting tool and black polish.
The progression of the sunflowers.
This is a cute design that is fun for an event or a nice little spring or summer design. It was a bit time consuming the way I did it but it was well worth it. My daughter really liked it and didn't want to let go of my fingers the first time she saw it. I hope you enjoyed this design as much as she did. See you next time.

Your Fellow Plebe,


Valentine's Day Heartbreaker Manicure

Hi Guys! Happy Valentine's Day! (I know it’s a couple days early.) I have for you today a Valentine's Day mani that is sure to break some hearts. I'm using simple techniques that I'm sure you've seen before but with my own little twist. Here are the materials you'll need:

Materials:
Base Coat (never go without it, never!)
Base Color (Matte color or Mattifying Top Coat if you are going for this exact look.)
1 ‐ 2 Accent Colors
Scotch and/or Painter's Tape
Scissors (regular and zigzag if you have them.)
Dotting Tools
Toothpick (recommended to make things a little easier.)

For this design, I used New York Color ‐ #201 Fashion Safari on all my fingers except for my pinky fingers. I also applied a New York Color mattifying top coat ‐ #274 Matte Me Crazy to all fingers except my pinkies. For my pinkies and other accents I used Sephora's Formula X ‐ Atom + Eve. This is a very pretty micro‐glitter that has a red base, so it only took me two coats to get the desired affect. As a second accent color, I used Color Club ‐#843 Magic Attraction, another micro‐glitter that applied easily in two coats.


You don't have to use a matte color or top coat for your design that is entirely up to you. I used a matte top coat for a few reasons, 1) I've never used a matte color or coat before, 2) I wanted my fingers to appear nude, and 3) I wanted my accents to really stand out.

Base color with matte top coat
The problem that I had, which this is a common problem for me, is that I am very impatient. I ended up redoing my base coat three times before I finally had one that was nice enough to use. It is important that whenever you are using tape for your designs that you allow the base color to dry completely. I was running into a problem because the layers, two coats of color + the matte top coat, were not drying all that quickly. What I ended up doing on the third time around was applying a quick drying top coat and used drying drops on my base color. Once, the finish was dry to the touch (roughly 5 minutes) I then applied my matte top coat. For some reason this did work out really well for me and it didn't change the affect of the matte coat. However, I waited almost a full day before doing the accents because I didn't want to risk ruining
my base color with the tape.

For this mani, I used two accent colors. Starting with the thumb, I did the heart scotch tape cutout that you've probably seen a thousand times. I wanted to try this for myself to see if it was as easy as everyone makes it seem. It was relatively easy but here are a few pointers for you.

It looks like I need to go back to grade school and learn
how to cut out a heart.
• Remove some of the stickiness of the tape first by sticking it to your hand or folding it and unfolding it a few times. This will make it easier to peal apart after you've made your cutout and help prevent it from pealing the base color off your nail.
Skew the overlap, it makes it easier to open
• When you fold your tape in half do not overlap it evenly, skew it enough so that you can grab hold of it and pull the halves apart.
• In some tutorials I have seen people anchor the tape on their thumb so that it is easier to pull apart. I tried this and found it difficult to maneuver the tape to get the cutout I wanted. If you want to do this instead of skewing the overlap of the tape, tape it to a pen or pencil instead of your finger. This gives you both hands to maneuver with.
Use a pen instead of your thumb to give yourself
more manuevering ability.


• The size of your cutout is up to you, of course, but if you are like me and bad at eyeballing the size, draw an outline before cutting. This may save you some time and some tape.
• When you apply your scotch tape template make sure all the edges of the cutout are pressed down. Use a nail buffer to smooth the edges and ensure that it is pressed down firmly.
• After applying the accent color, apply a quick drying top coat. In this case because I used a matte finish on my base color I applied the quick drying top coat before I removed the tape. This is not necessary but it helps speed up the drying time on your accent. If you are not using a matte finish, remove the tape
and apply the top coat to the entire nail to seal the design.
• Give the polish only a couple seconds to dry time before pealing the tape off. If you peal it too soon the polish may run and ruin your design. If you wait too long to peal the tape, you may end up pealing the accent off too.
Broken Heart
For my mid‐finger, I did what I am calling my broken heart design. Using painter's tape and a pair of zigzag scissors, I cut a V‐shape. I had to use painter's tape because my zigzag scissors were not sharp enough to cut the scotch tape cleanly (very frustrating). This is where the toothpick comes in handy. To get a nice V‐shape I fold the tape in half around the toothpick and then cut a shallow V in the tape with the zigzag scissors. Using the toothpick makes it easier to open or pull apart the halves of the V. If you don't have zigzag scissors you could always use regular scissors and cut a jagged Vshape. I then applied the point of the V center on the tip of my mid‐finger, pressing the edges down as I did with the heart tape cutout. Using my red accent color I painted the sides of the nail and finished with a quick drying top coat before removing
my tape.

Folding the tape around the toothpick gives you a handle to make it easier to hold the tape and make it easier to open it
On my pointer and ring fingers, I decided that I want them to be a little simpler but still interesting. So, I taped off the tips and added a glittered french tip using a simpler micro‐glitter. Then using dotting tools I added random dots and a couple freehand hearts. The hearts were easier than I expected but they are not all that easy to see in the glitter. I plan on doing a little mini tutorial on making hearts using dotting tools. I really like this mani because the red really stands out and is complimented by the nude and the lighter glitter. It was easy to do but requires some patients. I recommend you paint your base color a day before if you have the time. This will keep you from getting too frustrated and having to redo your base color multiple times. I hope you enjoyed this tutorial. Happy Valentine's Day! Don't break too many hearts this weekend.


Your Fellow Plebe,

China Glaze Study

China Glaze is a very popular nail lacquer brand that is known worldwide for it's beautiful colors.  With hundreds of colors to choose from China Glaze has a shade for everyone.  China Glaze is manufactured and distributed by American International Industries (http://www.aiibeauty.com/about/) who is also responsible for Seche Vite and numerous other nail, skin, and hair care products.  China Glaze has been around for more than 13 years and prides themselves on being a leader in the nail care industry (http://www.chinaglaze.com/about/).

Price Range: $3 - $12
Average Price: $7 - $8  
(Based on my observations, I would deem this a moderately priced polish)

My Initial Impressions
Many of the polishes I've purchased in the past, I've typically purchased because they caught my eye and the price tag didn't make me feel guilty.  This may explain why I've never purchased a China Glaze polish before very recently.  Though their color seclection is eye catching I have never had a strong desire to purchase their lacquers.  Here is how they rated on my initial impressions:

First Impressions
Packaging Boring
2
Uniqueness I liked that the CG logo was on the top of the applicator handle
2
Storing Simple bottle shape, and fair size makes it easy to store
3
Labeling Clear, even the small print is easy to read.
3


Total
10/12

The Application
As always, I started with a base coat to protect my nails and then applied the China Glaze polish.  In this study I ended up using #1155 Passion for Petals.  I did not pick this color for any paticular reason, I guess it just stricked my fancy at the time.  I applied this to all my nails remembering to cap the tips.  This prolongs the polish from chipping along the edge or tip of your nail and gives it a fighting chance to survive.  I was pleased how smoothly the lacquer went on.  I did not find it to be too thick or two thin and if I had applied it a bit thicker I could have gotten away with one coat.  However, I do not like to apply polish too heavily because this will increase the drying time.  So, instead I ended up applying this in two coats.

First application with two coats, before dry.
I was extremely disappointed with the time in which it took for this polish to dry.  In fact, after four hours this polish was still extremely tacky and pliable and looked terrible.  I ended up removing the initial application because it looked so terrible once it actually dried that I knew I wouldn't be able to live with it for an entire week.  I also reapplied it because I knew the ridges and marks would not allow the polish to last as long making it easier to scatch, chip, peal off, etc.  The second time I applied this polish I used drying drops in an attempt to speed up the drying process.  Though this did dry the polish quickly it caused the polish to bubble very badly.

Frustrated and on the verge of giving up, my stubborn self decided to give this one more try.  Well as the saying goes, the third times the charm.  I reapplied this polish yet again and to speed up the drying time I used a cool hair dryer and once it was tacky I used a can of compressed air.  I would not recommend using compressed air for a couple reasons 1) if the polish is too thick and/or pliable you may leave creases or marks in the finish, 2) it is not very economical.  In this case I was desperate, so I was willing to try almost anything.  After about an hour of sitting, blow drying, and using the compressed air I had a finish that was pretty good.  All in all, China Glaze failed my drying test.

Note: For those of you who are asking why in the world didn't she just use a quick drying top coat?please see the page "Battle of the Brands" here I have outlined the criteria and methods of this study.

Though, China Glaze failed to earn any points for their drying time they scored well on the remaining categories of the application portion of this test:

Application
Applicator Handle Easy to hold and maneuver
3
Applicator Brush Firm but flexible and very smooth
3
Polish Thickness Just right
3
Number of coats Would have been fine with one thick coat.
3
Drying Time Way, way, way too long
0
Finish Similarity Exact
3


Total
15/18

Day to Day
I applied this initially on Sunday, however, because of the poor results and multiple applications the application was until Monday afternoon.  So, I tested this polish from Monday to Monday to give it a full week.  This polish really got a workout this week because of the crazy weather and trying to finish some house preperations for my daughters birthday next weekend.  Even though some of the tasks I performed in addition to my typical chores may seem unusual, believe it or not, they are pretty typical for me.  However, I tried to be generous in my day to day scoring because of the crazier stuff that I do.

In the first 24 hours this polish really took a beating.  We had snow (again!) so I spent a fair portion of my evening cleaning and salting the driveway.  I did not wear gloves while I was salting so the finish was badly scratched from that.  I also inadvertently closed my thumb in a baby gate which cased a pock mark.

 End of Day 1
Day 2 included more shoveling and lots of household chores. This is when the chipping began.

End of Day 2 (Sorry I only took picturesof my fingers.)
Day 3 was a pretty easy day, but I did spend sometime painting some trim in my house. I would have typically removed a polish by now because of the state of it.

End of Day 3
Day 4 I decided to degrease my cabinets.

End of Day 4
Day 5 I finished painting the trim I started working on previously.

End of Day 5
Day 6 I didn't do anything other than typical chores.

End of Day 6
Day 7 was another relaxed day for me.

End of Day 7
This is how I rated the daily wear of this polish.  Keep in mind I based this on day to day.  In other words each day had a potential to earn 10 points if it did not wear any further than the previous day.
Daily Scores
Day 1
7
Day 2
9
Day 3
8
Day 4
6
Day 5
5
Day 6
5
Day 7
4
Total
44/70
China Glaze earned a total of 69 out of 100 points on my test Earning it a C+.  I was a little disappointed with this polishes durability.  I guess I had high expectations because it is so popular.  However, I feel that the price range of the polish is on pare with its quality and how it wore throughout the week.


Nails Art Proudly Powered by Blogger