 |
| I used Zoya Tilda, Rooney, and Ling for this water-marble manicure. |
With that being said, I'll now say this…water‐marbling is not easy. If you have never done this type of nail art don't expect to get it right on your first try. Not to say that you might not get lucky. I'll begin by explaining the technique and then discussing some of the issues you could run into and how you might avoid or fix them.

Materials
Base coat and top
Colors of your choice
Dish, cup, bowl
Water
Toothpick
Q‐tips
Scotch tape
Technique
Prep your nails by applying your favorite base coat and then applying a base color. Wrap your finger in scotch tape or use the glue method to protect the cuticle and skin around the nail. This step is not necessary but is wise because it protects your skin and limits the amount of clean up you have to do.Fill a small dish with water (preferably distilled water, more on this later). Take each of your polishes and take turns dropping each in the water. This will create a bullseye if done properly and will widened with each drop.


Tips, Tricks, and Advice
Sounds easy right? What could possibly go wrong? Well if you read what I wrote in the beginning of this post, you can probably guess a lot can go wrong. Well here is a list of problems and things I recommend doing to avoid having a horrible water‐marbling experience.
Another problem I was having, in creating my bullseye was because of the polish itself. Not all polishes are made exactly the same and some can be heavier and denser based on the pigmentation and additives in them such as glitter. I have tried water‐marbling with metallic and shimmery polishes and they don't work as well as cream polishes. I found that newer polishes, and thinner polishes drip the best but depending on the formula of the polish may not spread to create a good bullseye. The only advice I can give for this is to test your polishes before you commit your nails to the project. Also, the brand doesn't matter. Just because one color of a certain brand works well doesn't mean other colors in the same brand will work too. Mixing brands is also okay.
If you have a polish that works okay but isn't spreading as much as you'd like there are a couple methods you can use to help make the bullseye larger. One method is to tap the side of you dish lightly. Another method is to take a toothpick and slowly pull the water in a circular motion on the outside of your bullseye. Creating movement in the water with either method helps loosen the polish so that it spreads.


In regards to the container that you use, it doesn't really matter what it is or what size it is. Keep in mind though that the size should be larger enough to stick one or two fingers in at a time (I really wouldn't recommend doing this with more than one or two fingers at a time unless you have mastered this technique). I personally like to use a disposable plastic cup cut down so that it is easy to use and I don't have to use a lot of water.
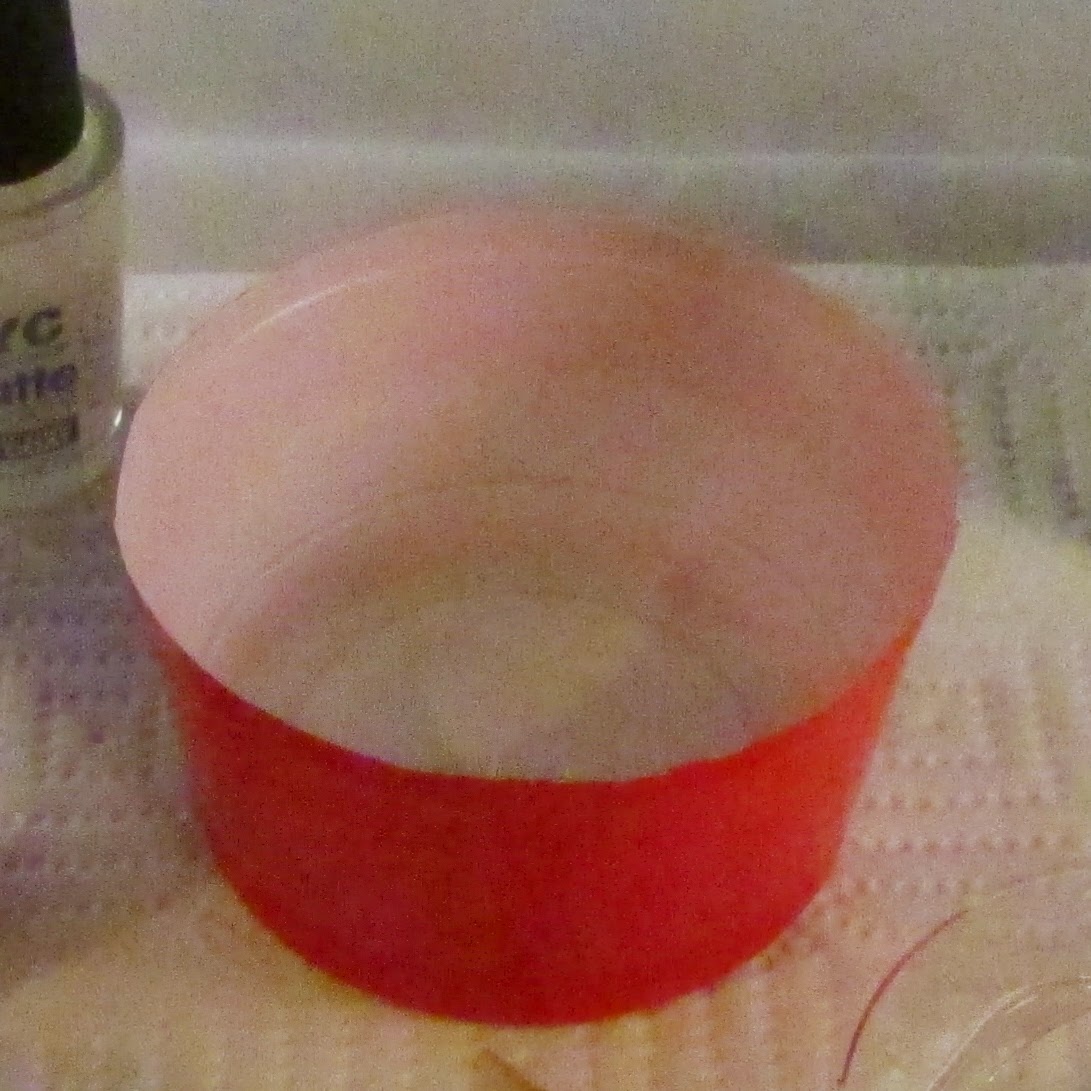
Occasionally, you may end up with a bubble or bare spot in your water‐marble design. Unfortunately, this is unavoidable. However, you should use a white or light colored base coat of polish under your water‐marble so that this doesn't become an eye sore. With the water‐marble design I did for this post I didn't use either a white or a light color because I didn't want the white to be seen and I thought using any of the polish I was using would affect the other colors too greatly. I ended up applying a matte top coat directly over a base coat to give the polish something a bit easier to stick to. I really wish I had used the pink shade as my base color though because if you look closely you can see some bare spots.
If you use tape to protect you skin and cuticle areas cut the under side of the tape before pealing it off gently. Too many times did I impatiently try to pull off the tape without cutting the under side and ruined my design.

All in all this is a beautiful nail art technique that requires patients, practice, a little bit of research, some preparation, and time. I would love to see any of your water‐marbling designs and if you have any questions ask away, I'll answer them to the best of my abilities. Also don't forget to share your "What R U Wearing Wednesday" manicure either on Instagram with #whatruwearingwed or on my Facebook page. Thank you for reading my post, see you next time.
Your Fellow Plebe,

